How to Design a Custom Race Suit
To design a race suit, you make five decisions in order: pick a base (suit type and a starting design), choose your colors (one base, one accent, one trim), lay out the panels (stripes and shapes), add your sponsor logos, and add an embroidered name or flag. Submit that brief and you get a free photo-real mockup — usually in about 3 hours — that you revise until it’s right and approve before you pay.
This guide walks each step, shows real FervoGear designs to start from, and covers the color, panel and logo choices that separate a sharp suit from a busy one.
- Five decisions: base, colors, panels, logos, name
- Two or three colors, high contrast — pops on camera
- Free mockup in ~3 hours · approve before you pay
Any Colors You Want
Match a livery or go wild
Your Panels & Layout
Blank canvas, no template
Your Sponsor Logos
Placed where you want
Free Mockup First
Approve before you pay
Design a race suit in 6 moves
Designing a custom suit is a short, ordered process — each step locks one decision so the next is easy. Here is the entire flow, what you decide at each step, and the move that gets it right.
| Step | What you decide | The move |
|---|---|---|
| 1 · Pick a base | Suit type & cut | Start from a proven design or a blank canvas — choose SFI-5, drag, karting or road, plus your leg cut and collar. |
| 2 · Set your colors | Base, accent & trim | Lock a base color, one accent and a trim. Two or three colors max — high contrast reads on track and on camera. |
| 3 · Lay out panels | Stripes & shapes | Place racing stripes, contrast shoulders, side flames or asymmetric cuts so the layout flatters the body and the brand. |
| 4 · Add sponsor logos | Brand placement | Map chest, shoulders, sleeves, thighs and back. Keep the biggest sponsor on the chest where the camera lives. |
| 5 · Add name & flags | Embroidered detail | Drop an embroidered name, car number or flag — pick the font, color and placement on chest, belt or collar. |
| 6 · Get the mockup | Approve before you pay | A designer returns a photo-real proof in ~3 hours. Request unlimited revisions, then approve — $0 design fee. |
No payment to start any of this — you only pay once you approve the free mockup →
The step-by-step design process
Work the design top-down — base, then color, then layout, then branding, then proof. Locking each decision before the next keeps the suit coherent and your mockup fast.
Pick your base & cut
Choose the suit type your series needs — SFI-5 double-layer, drag multi-layer, karting or road — then your leg cut, collar and closure. This is the canvas everything else sits on, so set it first.
Choose two or three colors
Lock one base color, one accent and a trim. Stick to two or three total so the suit reads as deliberate, not busy — and aim for contrast that pops at speed and on camera.
Lay out your panels
Place stripes, contrast shoulders, side flames or asymmetric cuts. Run lines with the body to look fast and leave clean, flat zones where logos and your name will go.
Place logos, name & flags
Map sponsor logos to the chest, shoulders, sleeves, thighs and back, then add an embroidered name, number or flag. Send vector artwork if you have it; we recreate it if you don’t.
Review your free mockup
A dedicated designer returns a photo-real proof — usually in about 3 hours. Check colors, balance and logo placement, request unlimited revisions, and approve only when it’s right.
Want the full walkthrough with examples? See our design process →
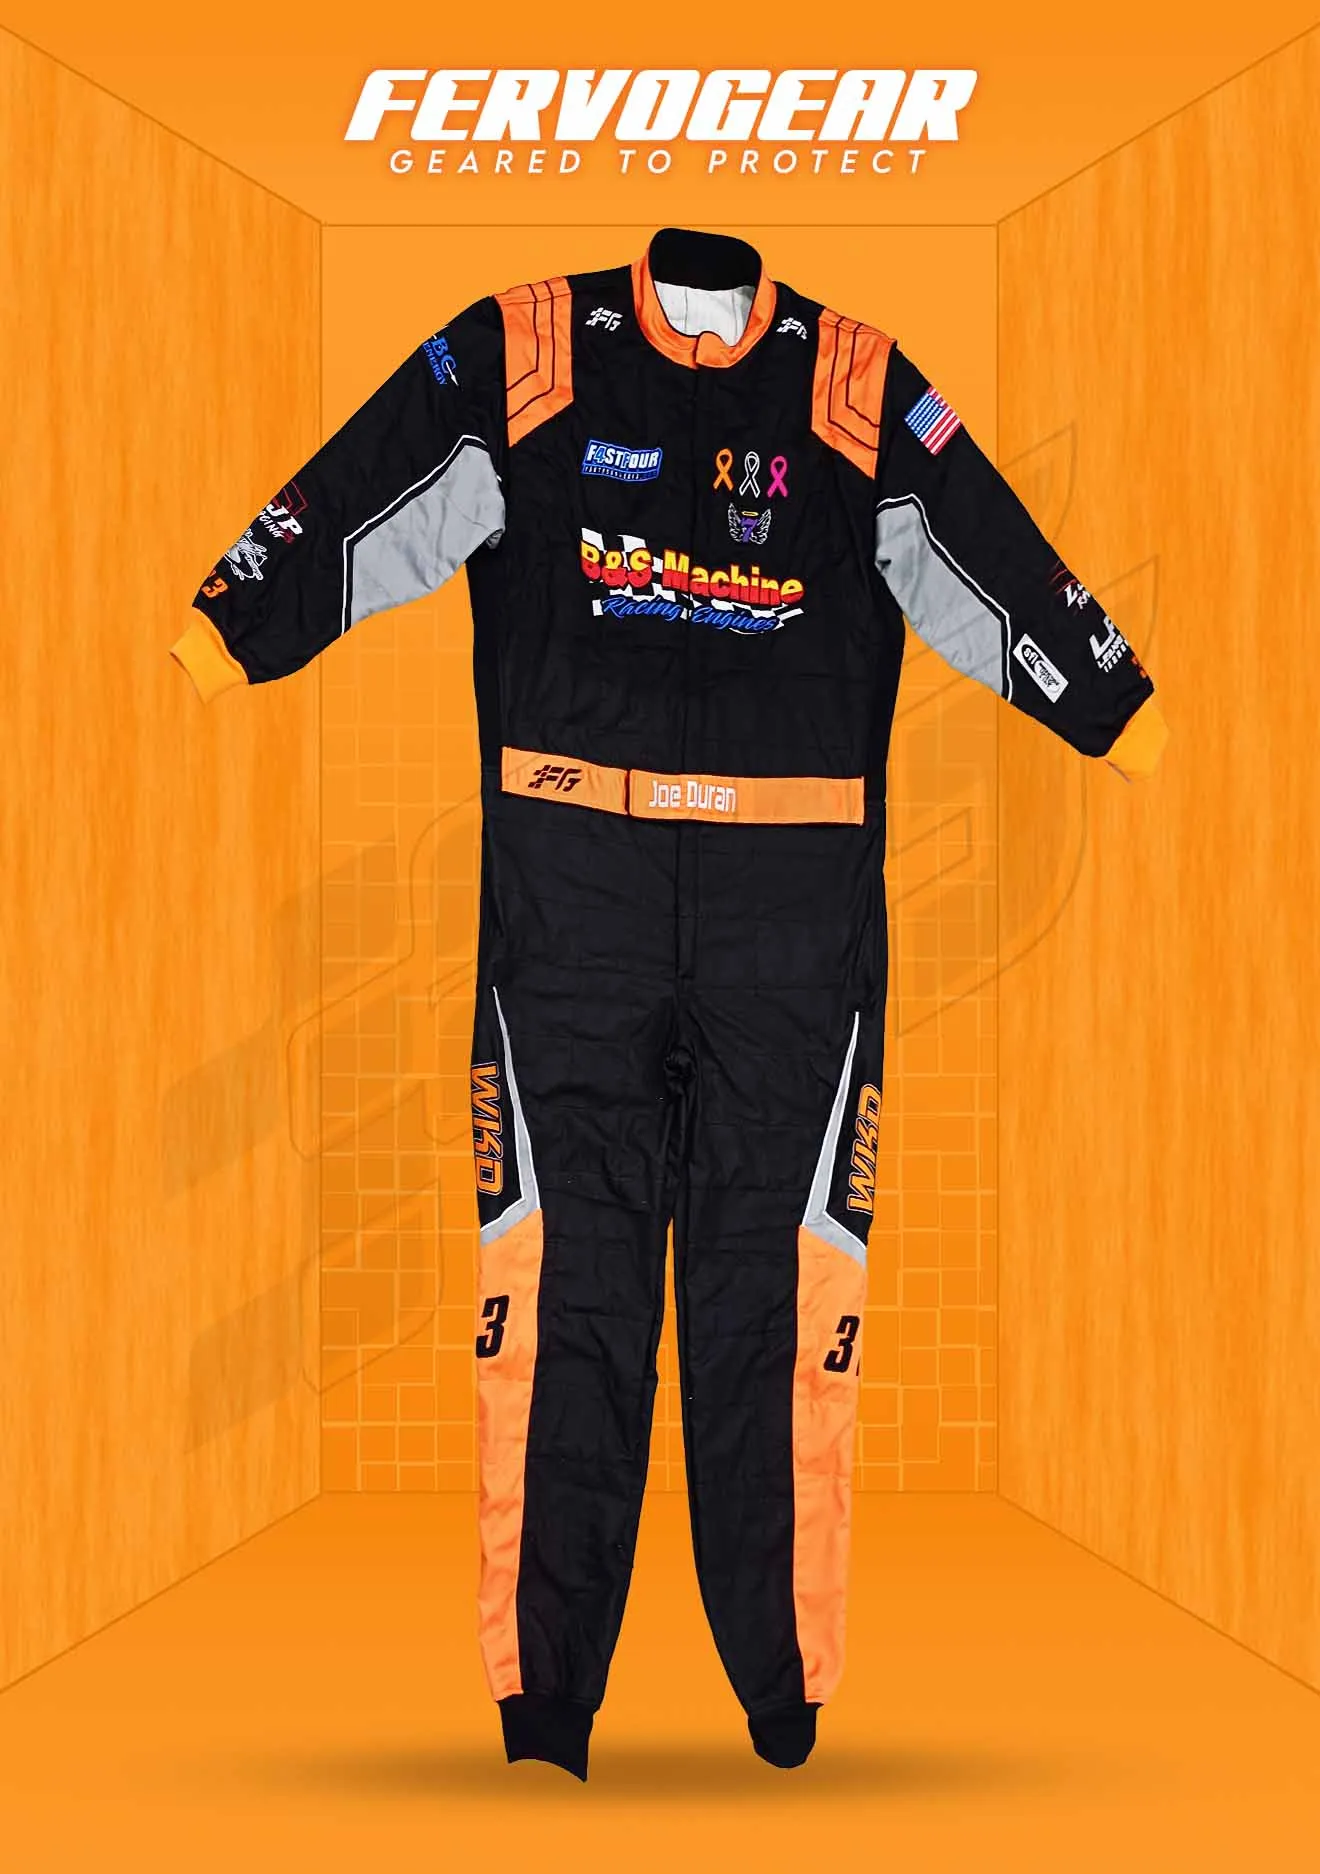
Design mockups & colorways
Build a suit no one else has — start from a proven design, make it yours, and approve your free mockup before you pay.
 1 / 12 · tap to enlarge


Choose colors that pop
Good race-suit color is about contrast, not quantity — a dark base with one bright accent beats a rainbow every time. Use these four rules to pick a palette that pops on track, on camera and for seasons.
Pair a dark base with one bright accent — orange, lime, cyan or white. High contrast is what makes a suit read at 100 mph and stay legible in low-res broadcast and phone footage.
Use one base, one accent and a trim. More than three colors fights itself and looks cheap; a tight palette looks designed and lets your sponsors and number stand out.
Send a Pantone (PMS) code, a hex value or a reference photo to match a car, team or sponsor palette as closely as flame-resistant fabrics allow — confirmed in your mockup.
Very pale colors show dirt and tire marks fast on dirt and circle track; deep tones and a contrast accent hide wear and stay sharp for more seasons of racing.
One base, one accent, one trim
Pick a base color, add a single bright accent and finish with a trim. Keep the accent clearly lighter or darker than the base so it separates at distance — that value gap is what makes a number readable and a livery photogenic. To match a team, send a Pantone (PMS) code, a hex value or a reference photo and your designer confirms the match in the mockup.
Avoid pale all-over colors on dirt and circle track — they show tire marks and mud fast. A deep base with a bright accent stays sharp longer and hides honest racing wear.
Dirt & circle track suits →A palette that pops
Panel & layout options
Panels are where a suit gets its personality — stripes, contrast shoulders, flames and splits all change how it reads. The whole suit is a blank canvas, so choose a layout that flatters the body and leaves clean room for logos.
Racing stripes & spears
Center or offset stripes draw the eye down the body and read fast head-on — the safest, most timeless layout, and a clean backdrop for a chest logo.
Contrast shoulders & sleeves
A different color on the shoulders and sleeves frames the chest, defines the upper body and gives sponsor logos on the arms a clean field to sit in.
Side flames & accent panels
Flames or angled accent panels down the flanks add motion and personality without crowding the front — keep them off the main logo zones.
Asymmetric & split designs
A split or asymmetric layout looks modern and distinctive, but balance it so the suit still reads as one design from across the paddock and on camera.
Run your panel lines with the body to look fast — and keep the main logo zones flat and uncluttered.
Add your sponsor logos
Send the logos you need to run and we place them on the suit — chest, shoulders, sleeves, thighs and back. Put your most important sponsor on the chest, because that’s the panel the camera sees on the grid, in interviews and in victory lane. Vector artwork (.ai, .eps, .svg, .pdf) reproduces best; high-res .png works too, and if you only have a rough file our team recreates it cleanly in flame-resistant print.
Give every logo a flat panel and breathing room so it stays legible from a few feet away — crowded or tiny logos stop reading on track and on camera.
Where to place sponsor logos →Sponsor placement zones

Add an embroidered name & flags
Finish the suit with an embroidered name, nickname, car number or country flag. Pick the font, color and placement — most racers put the name on the chest or belt and the flag on the chest or collar. Embroidery gives a crisp, durable finish that holds up to washing and a full season of racing, far better than print for lettering.
Your designer shows the exact lettering, font and flag in the mockup, so you can fine-tune the size and position before anything is stitched.
Build a custom SFI-5 suit →Common design mistakes to avoid
Most weak race-suit designs fail for the same handful of reasons — too many colors, low contrast, buried sponsors. Avoid these six and your suit will look pro before a single revision.
Cramming in too many colors
Four, five or six colors turn a sharp suit into noise. Limit yourself to a base, an accent and a trim — restraint is what makes a custom suit look premium.
Low-contrast color pairs
Navy on black or red on maroon disappears on track and on camera. Pick colors that fight each other in value — one clearly lighter, one clearly darker.
Burying the main sponsor
Tucking your biggest sponsor on a thigh or the back wastes the prime real estate. The chest faces the camera in victory lane and on the grid — put the money logo there.
Tiny or busy logos
Logos shrunk to fit or stacked too close stop reading from a few feet away. Give each mark breathing room and a flat panel so it reproduces cleanly in FR print.
Ignoring the rulebook
Some series cap colors, ban certain sponsors or mandate compliance logos. Check your regs before you design so the suit is legal the day it ships.
Skipping the mockup review
Approving a proof without studying it at full size is how surprises happen. Zoom in on colors, balance and every logo before you sign off — revisions are free.
Not sure what your series allows? Confirm the rules, then we’ll keep your suit tech-legal and on-brand.
Get your free mockup
Once your brief is set, a dedicated designer turns it into a photo-real mockup of your exact suit — for free, with a $0 design fee and no card to start. Most racers see their first proof in about 3 hours. Request unlimited revisions on color, layout, logos and lettering, and approve only when it’s right.
Approve the design and most racers build it as an SFI 3.2A/5 double-layer Nomex® suit, cut to exact measurements and delivered in about 3.5 weeks with free USA shipping.
That’s the framework — these are the specific questions racers ask while they design.
Designing a race suit — your questions
How do I design a race suit step by step?
How many colors should a race suit have?
What colors stand out best on a race suit?
Can I put my own sponsor logos on the suit?
Where should I place sponsor logos on a race suit?
Can I add my name and country flag to the suit?
Is the design mockup really free?
How long does it take to design a custom race suit?
Ready to send your numbers? See how to measure for a race suit →
Design a race suit no one else has
Pick a base, your colors, panels and logos — see your exact design in ~3 hours, built in 3.5 weeks.